


Vinyl siding is a popular choice for many homeowners in the Kansas City area because of its durability and low maintenance requirements. However, over time, vinyl siding can develop mold and oxidation, which can affect its appearance and potentially cause damage. In this article, we will discuss how to fix mold and oxidation on vinyl siding, as well as preventative measures you can take to avoid these issues in the future.
What is Mold on Vinyl Siding?
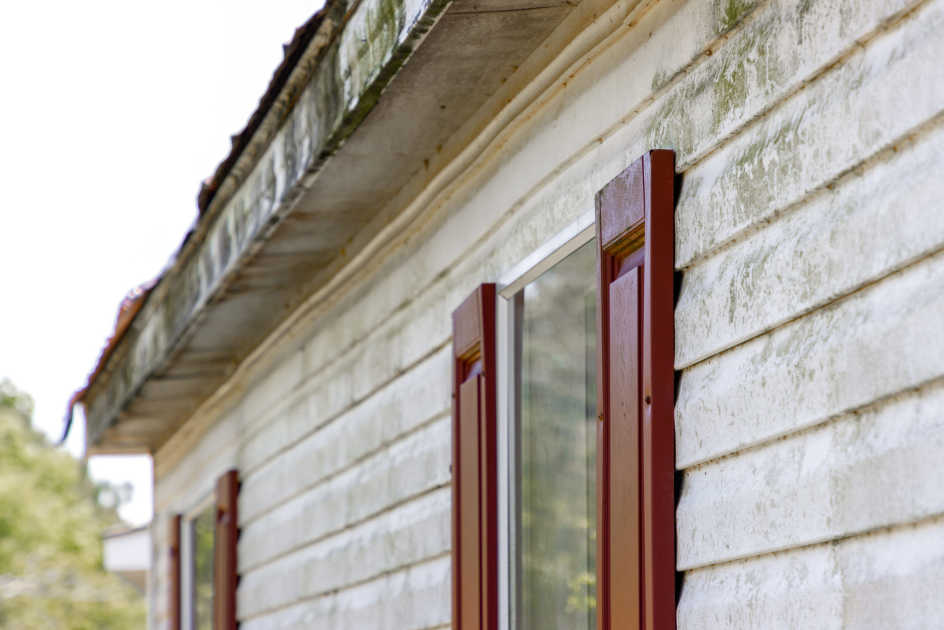
Mold on vinyl siding is a common problem that occurs when moisture is allowed to build up on the surface of the siding. This moisture can come from a variety of sources, including rain, snow, and humidity. When mold spores come into contact with the moist surface of the vinyl siding, they can begin to grow and spread, resulting in unsightly black, green, or brown spots on the siding.
Step 1: Identify the Problem Areas
The first step in fixing mold on vinyl siding is to identify the problem areas. Take a walk around your home and inspect the siding for any signs of mold. Look for areas that are shaded and prone to moisture buildup, such as under eaves and around downspouts. Also, be sure to inspect areas where water may be splashing up onto the siding, such as around the foundation or near a sprinkler system.
Step 2: Gather Your Supplies
To fix mold on vinyl siding, you will need a few supplies. These include:
- Garden hose with a spray nozzle
- Soft-bristled brush
- Bucket
- Mild detergent or vinyl siding cleaner
- Bleach
- Rubber gloves
- Safety goggles
Step 3: Prepare Your Cleaning Solution
Mix one part bleach to three parts water in a bucket. Wear rubber gloves and safety goggles to protect your skin and eyes. If you prefer to use a commercial vinyl siding cleaner, follow the instructions on the label.
Step 4: Spray the Siding
Using a garden hose with a spray nozzle, spray down the siding to remove any loose dirt and debris. Be sure to direct the water downward and away from the siding to avoid forcing water up behind the siding, which can cause water damage.
Step 5: Apply the Cleaning Solution
Dip the soft-bristled brush into the cleaning solution and gently scrub the moldy areas of the siding. Be careful not to scrub too hard, as this can damage the surface of the vinyl siding. Allow the cleaning solution to sit on the siding for 10-15 minutes.
Step 6: Rinse the Siding
Using the garden hose, rinse the siding thoroughly to remove the cleaning solution. Again, be sure to direct the water downward and away from the siding to avoid forcing water up behind the siding.
Step 7: Repeat as Necessary
If the mold is still present after the first round of cleaning, repeat steps 5 and 6 as necessary until the mold is removed. If the mold is particularly stubborn, you may need to use a more concentrated cleaning solution or a pressure washer. However, be cautious when using a pressure washer, as too much pressure can damage the vinyl siding.
What is Oxidation on Vinyl Siding?
Oxidation on vinyl siding occurs when the surface of the siding becomes faded, chalky, or discolored due to exposure to the sun's UV rays. Over time, this oxidation can make the siding look dull and dingy.
Step 1: Clean the Siding
Before you can fix oxidation on vinyl siding, you need to clean the surface of the siding. Follow the same steps outlined above for cleaning mold on vinyl siding.
Step 2: Apply Vinyl Siding Restorer
Vinyl siding restorer is a product designed specifically to restore the color and shine to vinyl siding that has become faded or discolored due to oxidation. Apply the vinyl siding restorer according to the manufacturer's instructions, using a soft-bristled brush or a spray bottle. Be sure to apply the restorer evenly over the entire surface of the siding.
Step 3: Allow the Restorer to Dry
Allow the vinyl siding restorer to dry completely, which may take several hours depending on the product you are using. Avoid exposing the siding to moisture or rain during the drying process.
Step 4: Inspect the Siding
After the restorer has dried, inspect the siding to ensure that the color and shine have been restored. If necessary, apply a second coat of restorer to areas that are still faded or discolored.
Preventative Measures
To prevent mold and oxidation from occurring on your vinyl siding in the first place, there are several preventative measures you can take:
- Regularly clean your siding. Dirt, debris, and moisture can accumulate on the surface of your vinyl siding over time, creating an environment that is conducive to mold and oxidation growth. Regularly cleaning your siding with a mild detergent or vinyl siding cleaner can help to prevent these issues.
- Keep gutters and downspouts clean. Clogged gutters and downspouts can cause water to overflow and splash onto the siding, which can lead to moisture buildup and mold growth. Make sure to keep your gutters and downspouts clean and free of debris.
- Trim trees and bushes. Trees and bushes that are too close to your home can block sunlight and prevent air from circulating around your siding, creating a damp environment that is conducive to mold growth. Make sure to trim any trees or bushes that are too close to your home.
- Install a dehumidifier. If the humidity level in your home is too high, it can contribute to mold growth on your vinyl siding. Installing a dehumidifier can help to lower the humidity level in your home and prevent mold growth.
Conclusion
Mold and oxidation on vinyl siding can be unsightly and potentially damaging to your home. However, by following the steps outlined above, you can effectively clean and restore your vinyl siding to its original appearance. To prevent these issues from occurring in the future, be sure to take preventative measures such as regular cleaning, gutter maintenance, and tree trimming. If you need help fixing mold or oxidation on your vinyl siding, contact US Quality Construction, your trusted local contractor serving the Kansas City area and surrounding regions.
Tags: vinyl siding, mold removal, oxidation repair,


