


Painting a Deck
When it comes to improving the appearance and durability of your deck, painting is a great option. A fresh coat of paint can breathe new life into an old deck, protect it from the elements, and enhance its overall aesthetic appeal. However, painting a deck requires proper preparation and execution to ensure a long-lasting and professional-looking result. In this step-by-step guide, we will walk you through the process of painting a deck, whether it's an old deck that needs a facelift or a newly built deck that you want to protect. Whether you're a DIY enthusiast or considering hiring a professional, this guide will provide you with all the essential information you need. So let's dive in!
Step 1: Preparing Your Deck for Paint
Before you start painting, it's crucial to prepare your deck properly. This preparation stage involves several important steps:
Clean the Surface
Begin by removing any furniture, plants, or other items from your deck. Sweep the entire surface thoroughly to remove debris and dirt. Even if your deck is new, cleaning is essential. Additionally, to ensure a long-lasting paint job, it's recommended to cover all sides of every board, including the underside. Moisture and temperature changes can cause the boards to expand and contract, leading to premature paint wear if they are left unprotected. Therefore, make sure to prep, prime, and paint all six sides of every board. If reaching underneath the boards is not feasible, don't worry; you can still paint your deck, but be aware that the paint may wear faster in those areas.
Sanding Your Boards
Sanding is a critical step in the preparation process. Use a sander to remove any old paint, stains, or residue from the wooden boards. The goal is to expose bare wood and create a smooth surface for the paint to adhere to. Sanding also helps to eliminate grooves and imperfections, ensuring a more even application of paint. Remember to sand in the direction of the grain, as sanding against it can damage the wood fibers. Pay special attention to older decks, as they may have more imperfections, such as chips, splits, and dents. Fill these imperfections with a wood filler before priming to achieve a flawless finish.
Cleaning Your Boards
After sanding, clean your deck thoroughly to remove any dust, debris, and wood shavings. Start by sweeping the entire surface again, and then proceed with a thorough cleaning. Using a deck washing solution, work it onto your boards, and use a pressure washer to remove all traces of dirt and cleaning solution. Allow the deck to dry completely before moving on to the next step.
Priming the Deck
Properly priming the deck is crucial for achieving a professional and long-lasting paint job. Wood is porous and absorbent, so applying a primer helps seal the surface, allowing the paint to adhere better and providing a consistent finish. Priming is particularly important for decks exposed to varying temperatures, moisture, humidity, and foot traffic. Apply the primer evenly using a brush or roller, following the manufacturer's instructions. Allow the primer to dry completely before proceeding to the next step.
Step 2: Painting Your Deck
Now that your deck is properly prepped and primed, it's time to apply the paint. Follow these steps for a successful painting process:
Choose the Right Paint
Selecting the right paint for your deck is essential. Opt for a high-quality exterior paint specifically designed for decks and other outdoor surfaces. Look for paint that offers durability, UV protection, and resistance to moisture and foot traffic. Consider the color you want for your deck and choose a paint that suits your preferences and complements your home's exterior.
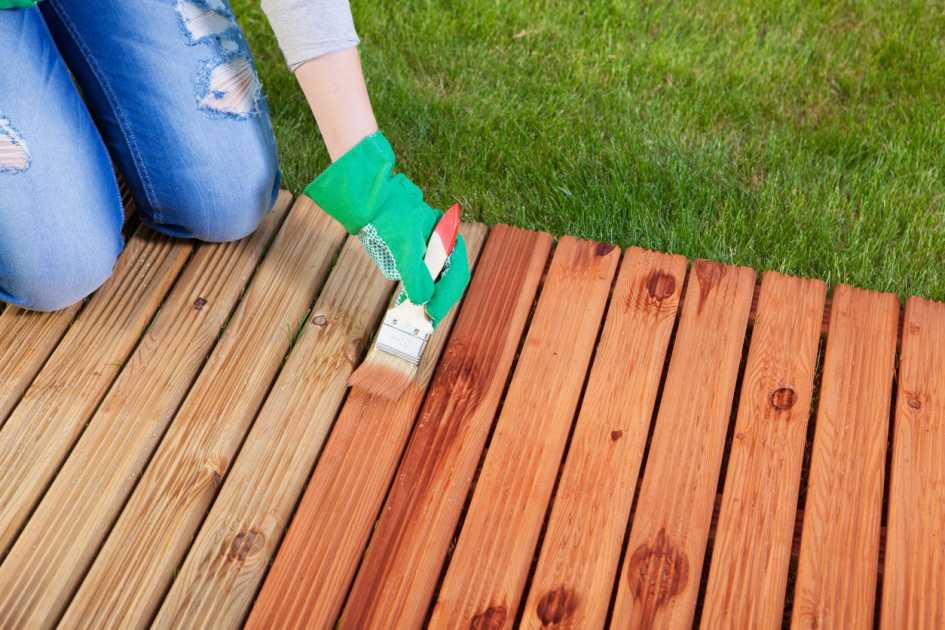
Applying the Paint
To start painting your deck, gather the necessary tools, including paint rollers, brushes, paint trays, and drop cloths. Begin by using a paint roller to apply the paint to the deck boards. Work in small sections, applying an even coat of paint in long, smooth strokes. Avoid applying too much paint at once, as it can lead to drips and uneven coverage. After using the roller, use a paint brush to reach the nooks, corners, and spaces between the boards. This step ensures that the paint is spread evenly and reaches all areas of the deck. Take your time to achieve a neat and professional finish. If possible, paint all sides of the boards, including the undersides and edges. This provides comprehensive protection and prolongs the lifespan of your paint job. Softwoods, in particular, absorb paint more readily, so applying a third coat may be necessary for a more even finish.
Staining vs. Painting
When it comes to deck finishes, you have the option of either staining or painting. Each method has its advantages and considerations:
Staining a Wooden Deck: Stain enhances the natural beauty of the wood, allowing the grain to show through. It is a suitable choice for new decks or those made of pressure-treated wood. Stains come in various shades, allowing you to achieve the desired look. However, stain typically has a shorter lifespan compared to paint and may require reapplication more frequently.
Painting a Wooden Deck: Paint offers a thicker protective layer that can conceal imperfections and provide a uniform appearance. It comes in a wide range of colors, allowing for more customization. Painting is often preferred for older decks with more significant wear and tear. Keep in mind that paint covers the wood's natural grain, resulting in a less natural look. Additionally, dried deck paint can be slippery when wet. Consider your personal preferences, the condition of your deck, and the desired look when deciding between staining and painting.
Tools and Cost
Before embarking on your deck painting project, ensure you have all the necessary tools and materials. Here is a list of items you may need:
- Paint rollers
- Paint brushes
- Paint trays
- Drop cloths or plastic sheets
- Primer
- Exterior paint or stain
- Sandpaper or a sander
- Deck washing solution
The cost of painting a deck can vary depending on factors such as the size of the deck, the quality of materials used, and whether you choose to do it yourself or hire a professional. Research different brands and prices to get an estimate that suits your budget.
If you're looking for professional assistance in building or renovating your deck, consider hiring a deck builder or a Kansas City decking contractor. These experts specialize in designing and constructing high-quality decks that meet your specific needs and preferences. Whether you want a new deck built from scratch or need assistance with deck repairs and maintenance, they have the expertise to deliver exceptional
Contact US Quality Construction Today For a FREE Decking Quote!
Painting your deck can transform its appearance and provide long-lasting protection against the elements. By following this step-by-step guide, you'll be well-equipped to tackle your deck painting project like a professional. Remember to prepare the surface properly by cleaning and sanding, and don't forget to prime before applying the paint or stain. Consider the pros and cons of staining versus painting to choose the option that best suits your needs.
Tags: Painting a Deck,


